Walls, Ceilings, and Windows.
With the layout roughly done, pictures and notes taken, it was time to take a look under the skin of the trailer and see what we were working with.
When ordering the trailer, I specifically asked for no roof or wall vents and to keep the walls screwed in place, with no glue or staples. This would allow me to make my own penetrations at my own size, exactly where I wanted to; without having to band-aid or patch anyone else’s holes. Blank canvas.
After concluding I was going to be making modifications to the frame, I realized I probably will need to get all welding and grinding accomplished prior to closing up any walls.
Probably the first thing I wanted to do was reserve space for the windows. I wanted this to feel as open with the surroundings as possible while keeping structural and thermal properties in design. From any seat at the dinette and whether the bed is up or down (more on that later), you should be able to see out of at least 2 windows.
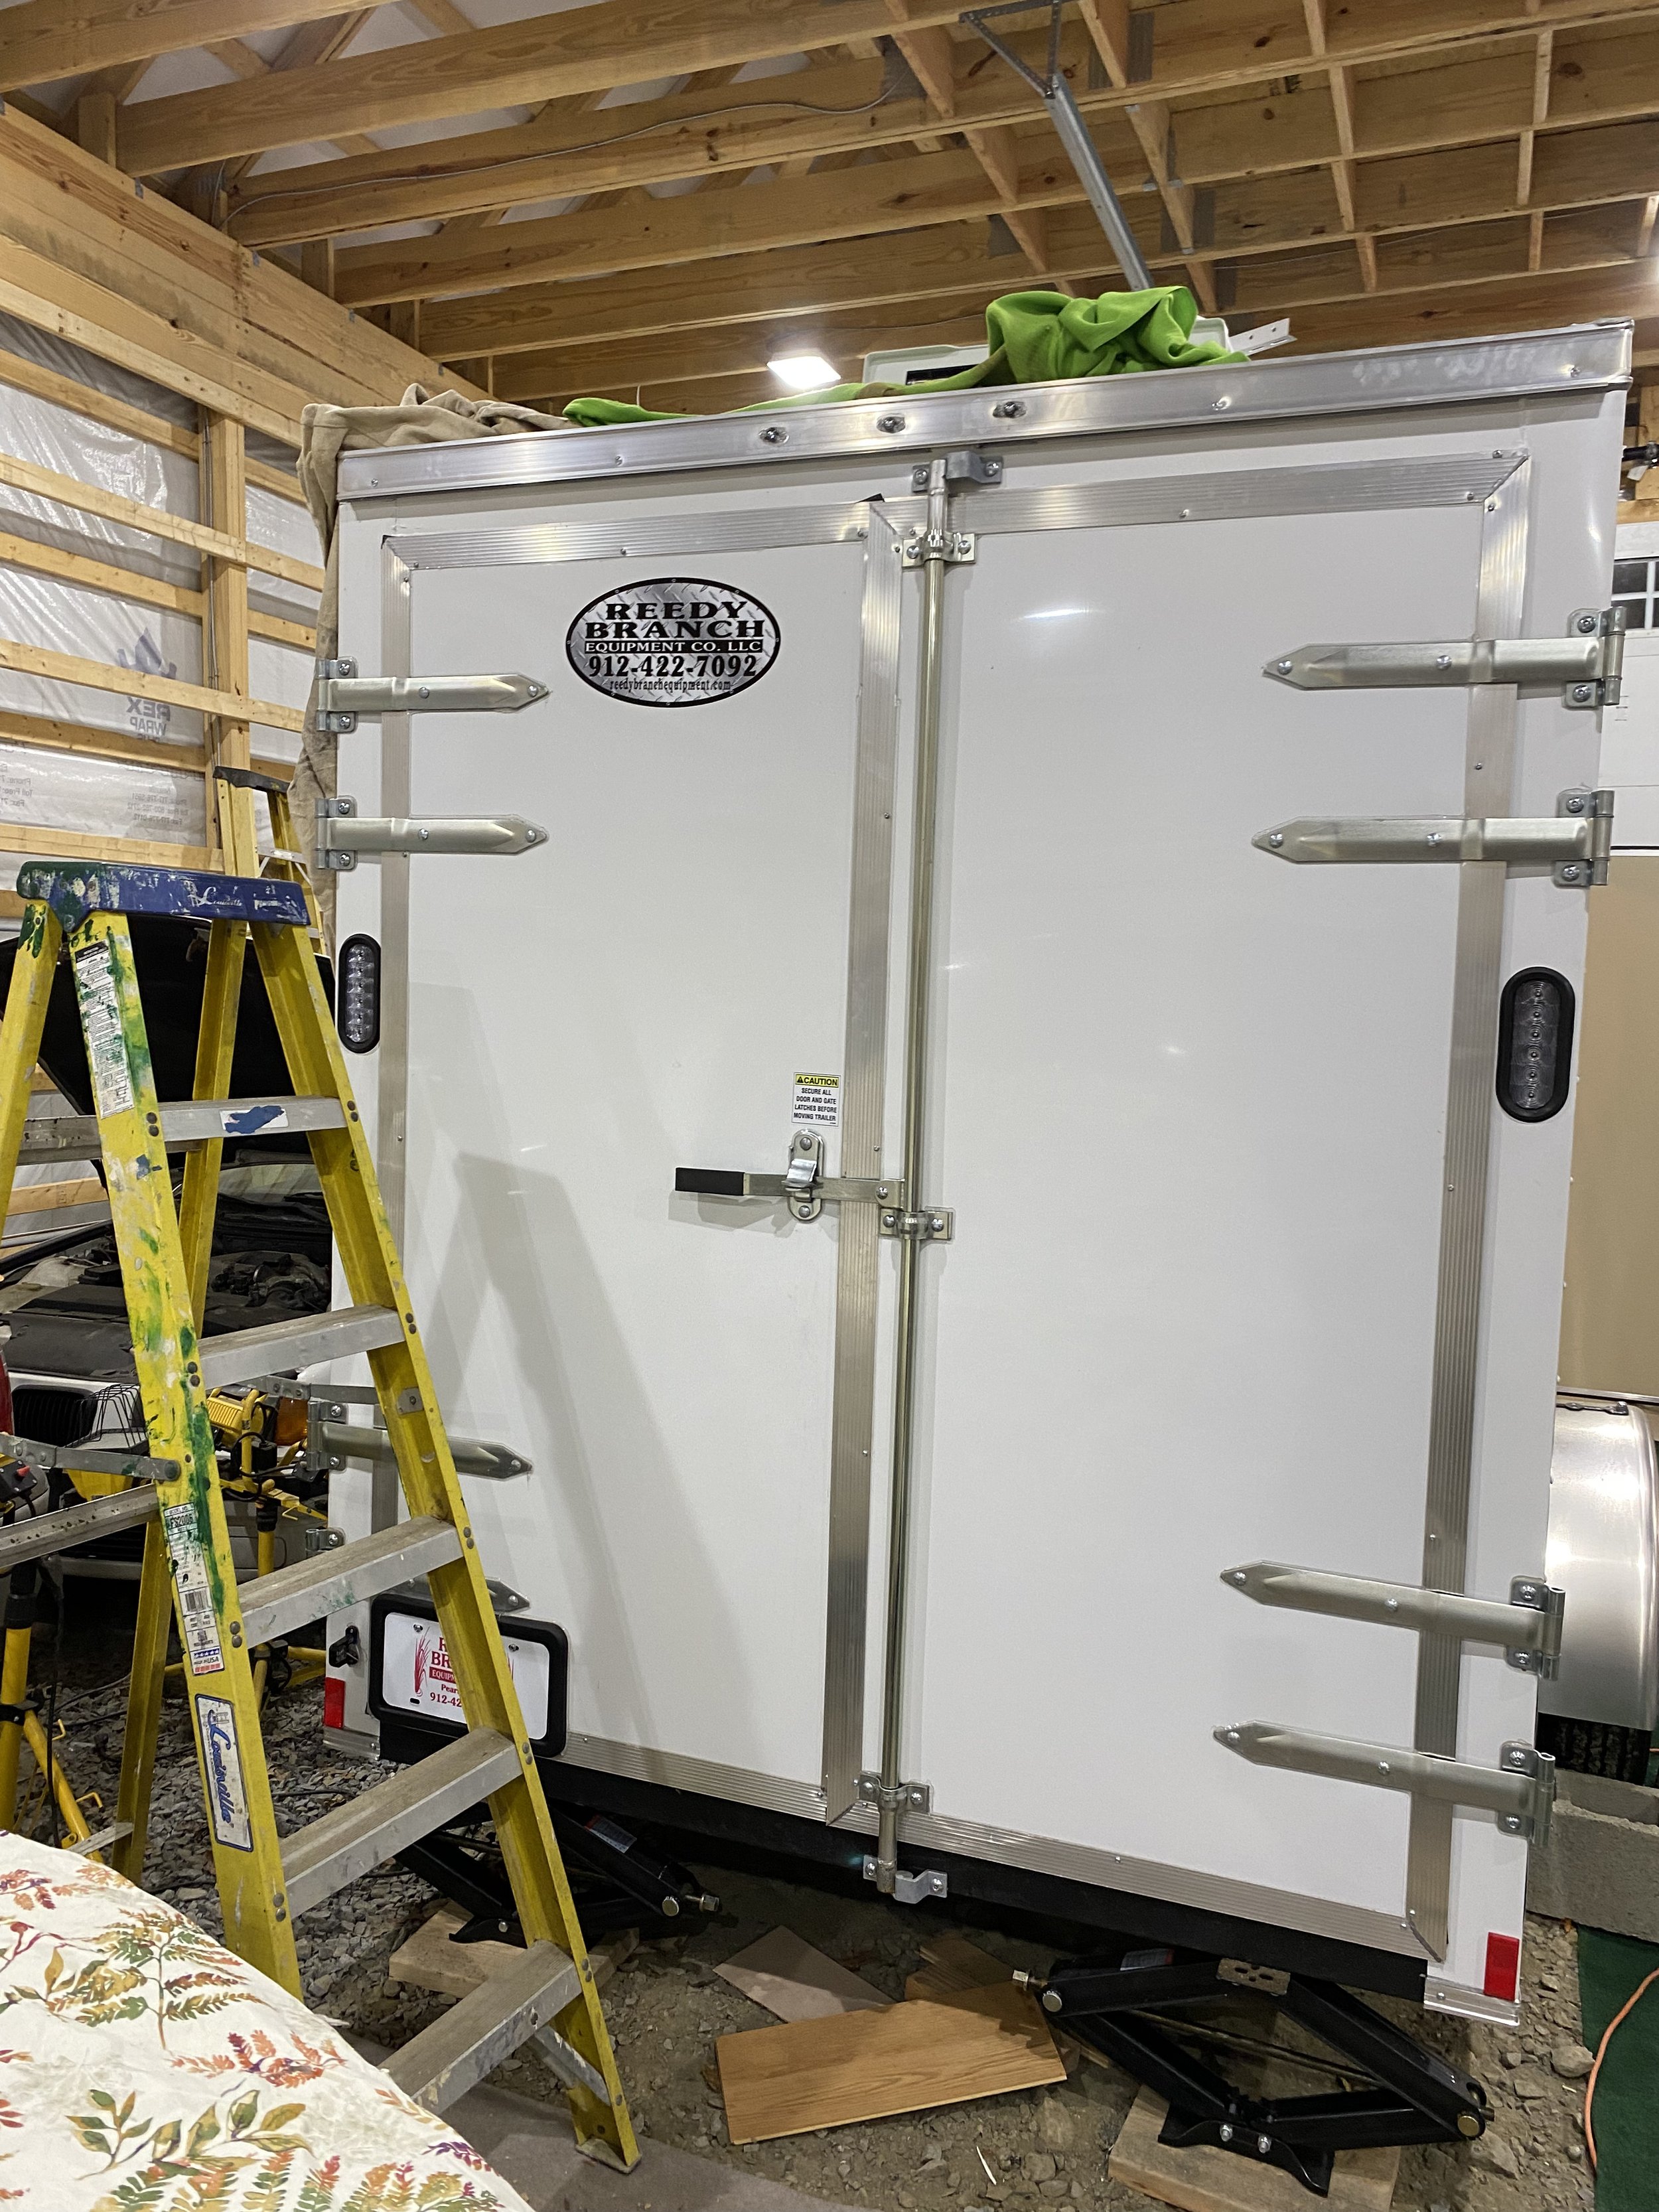
3 was a good number and these were part of the batch of items I had ordered prior to retrieving the trailer. 1 long, 1 wide(-ish), and 1 portrait. The long one would fit well between the top of the counter and the bottom of the upper cabinets in the galley. Placing it in the middle of the wall allows for ventilation while cooking since the stove is in the middle of the counter as well. Another is on the Stbd side behind the long bench to compliment and oppose the long. And the 3rd on the second rear door. This door would likely be closed more often than the main door with the latch and when someone is subjected to the short side of the dinette, they would get their own personal window.
After making some templates out of cardboard, I started taking down the walls and seeing what we had to work with. All the plywood I set aside to be used in some other fashion during the build. Reuse was a large goal/aspect of the build.


I needed a sample of the steel to order more for the frame. I figured I could cut a piece out of where a window would go, but I chose wrong…… Ended up re-welding the piece I cut out, right back into place since the first cardboard window location actually moved.
With the holes for the side wall windows cut, steel in hand, (and a little help from Father DeMan), we welded in the steel. Each weld had to be ground flush afterward and then painted to protect the bare steel. Some of these had beefing welds…someone may have been a bit out of practice.


Father DeMan getting a chance to play with his welder
Then it was onto the ceiling layout. I had to keep in mind the bed was going to be pulled up against the roof and what equipment still needed to be made accessible when it was. The Maxxair fan deluxe needed to be used at any point for ventilation since it could also be run off the house batteries (12VDC). The AC unit, however, was included for comfort in hot dry climates. Because of its electrical load at around 14.6A (120V), it can only be run when connected to shore or a generator. In addition to its heavy electrical load, it weighs close to 100-pounds; placement was a lot to consider with a single axle travel. All this meant was that the fan could not be covered by the bed, and the AC was not always going to be used. The AC placement ended up being in the right spot with the centroid of the equipment situated right over the axle.


After the hot work was complete, I could drill out and cut the openings. Then install the equipment. The AC unit took some creativity: a munter belay system, an inclined plane, and 2 pairs of hands.


After those 2 were in place, I went on to cut the hole for a bubble skylight. I later found out this also required some supporting steel and subsequently welded that in place prior to installation.


Then onto mounting. Anything added to the exterior received a combination of butyl tape and caulking. The butyl was to reduce vibrations from one system to the next. The caulk was used as a water barrier to keep the elements out of the inside of the camper.
Painters tape is helping working with caulk, you get to “paint” within whatever lines you make. Then it simply peels away and leaves behind a clean seal.


Next ceiling penetration was the bathroom fan and skylight. We wanted to have some sort of natural light coming into the bathroom as well as a dedicated ventilation system for moisture control. Maxxfan dome and another bubble skylight were the solutions.
Since the walls were not yet framed, the placement was honestly my best guess at the time. However, I did have the brains enough to keep the 2 inline aesthetically. The bubble is closed to the opening of the bath and more central to the trailer to allow light to shine into the main cabin when able and the fan is further from the opening in hopes of sequestering the moisture in the bathroom.
By the rear skylight and bathroom dome came from a neat website: EZTopsWorldWide.com (we are not getting paid for that!) The Lexan product is easy to drill and they make everything to order. Easy enough process. You just have to know what you want.


Before I got carried away with insulating, I had to make a few more major penetrations into the walls. These 2 below on the port side are the water heater intake/exhaust cover (left 2) and the fresh-water fill box (right 2). Both of their locations be determined by interior obstructions (wall placement, counter height, frame members).


And then it was time for more layout and cutting. Of course, involving my trusty bench template (folding chair) to determine the height of the rear door window. I had to look out for the door hinges on the outside and be tall enough that we wouldn’t be careening our necks to see out the window. Some crappy insulation inside solidified my need to frame and insulate the rear doors. Maybe with the extra depth, I’ll be able to hide a cubby in the wall under the window. We’ll see.


Now that all the large penetrations were created and sealed up, the walls could now be insulated and prepped for the interior build-out.